Creating Stunning Painted Candles: A Step-by-Step Guide
Enhancing the Art of Candle Painting
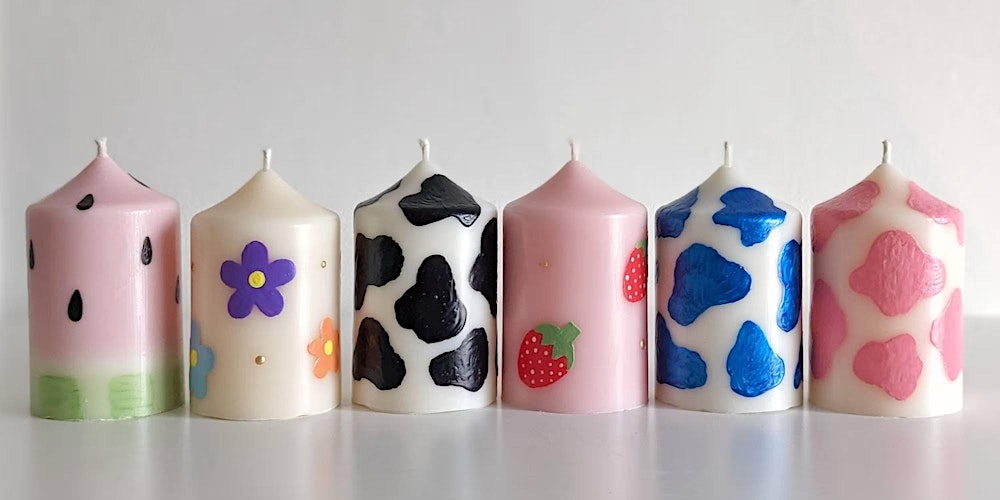
Are you ready to embark on a creative journey of transforming ordinary candles into personalized works of art? Painting candles is a delightful craft that lets you express your creativity while adding a touch of elegance to your space. To ensure your candle painting experience is a success, follow these step-by-step instructions for optimal results.
Step 1: Setting Up Your Workspace
Begin by establishing a conducive environment for your candle painting venture. Choose a well-ventilated area to work in. Gather all your essential materials, including candles, paints, brushes, stencils, and embellishments. Protect your workspace by laying down newspaper or craft paper to prevent any paint spills.
Step 2: Selecting the Perfect Candles
The type and size of candles you choose play a crucial role in the painting process. Opt for smooth-surfaced candles to create a seamless canvas for your designs. Remember that smaller candles demand intricate detailing, while larger ones provide more space for expressive designs.
Step 3: Picking the Ideal Paint
While various paints can be used, acrylic paint designed for candle painting stands out as the best option. This specialized paint adheres flawlessly to the candle’s surface and facilitates easy cleanup in case of mistakes.
Step 4: Application Techniques
With your chosen paint in hand, it’s time to bring your creativity to life. Experiment with diverse painting techniques, such as fine brushwork for intricate patterns or stencils and markers for larger designs. Allow each layer to dry before adding subsequent ones to avoid smudging.
Step 5: Adding Unique Touches
Elevate your painted candles by incorporating distinct touches. Embellish with glitter, rhinestones, or ribbons to infuse texture and vibrancy. Infuse fragrance by adding a few drops of essential oil to the melted wax for an enchanting sensory experience.
Step 6: Caring for Your Masterpieces
Give your painted candles the care they deserve to ensure their longevity. Store them in a cool, dry place away from direct sunlight to prevent fading or warping due to extreme temperatures. Keep them far from open flames to avoid fire hazards.
Step 7: Drying and Cure Time
After completing your designs and embellishments, exercise patience during the drying process. Allow the candles to rest in a cool area for at least 24 hours, enabling the paint to fully cure both inside and out. This guarantees an even burn and prevents any potential fading.
Step 8: Burning Safely
Once the candles are dry and cured, you can finally illuminate your artistic creations. Place them in secure holders and delight in the mesmerizing interplay of colors as they burn. Always remember to never leave burning candles unattended and extinguish them after use.
Step 9: Final Flourishes and Care Guidelines
Elevate your painted candle’s presentation with thoughtful final touches. Decorate candle holders with ribbons or beads to enhance their aesthetic appeal. Attach a care instructions tag to ensure proper storage and usage for recipients.
Step 10: Showcasing Your Artistry
Let your masterpiece shine by showcasing it in various imaginative ways. Arrange your painted candles on trays or centerpieces for captivating decorations. Alternatively, hang them from wall sconces or hooks for a unique visual impact that transforms any room into a haven of elegance.
By following these steps, you’ll create stunning painted candles that are not only a testament to your creativity but also an exquisite addition to your living space. Enjoy the process and revel in the beauty of your handcrafted masterpieces.
Here is the list of best patchouli wax melts for your home.